3 Things To Do When First Unpacking Your New Washing Machine

Picture this, your shiny new washing machine has arrived in your home. You’ve got laundry that needs washing for tomorrow and you’re raring to get started, but what do you need to do before you load it and turn it on? Follow our mini checklist to make sure you’ve got everything sorted before your first wash load.
Top Tips for Unpacking your new washing machine:
1. Remove Transit Bolts and/or Transit Bar
When your new washing machine arrives it will need a few things removing before you can use it. Manufactures fit washing machines with a transit bar and bolts to help secure and support the drum whilst it’s being transported. They are easily removed with household tools but can be detrimental if left on.
Remember! Make sure you keep the transit bar/bolts in a safe place. You may need them in the future if you move home.

2. Plumb it in and put it in place
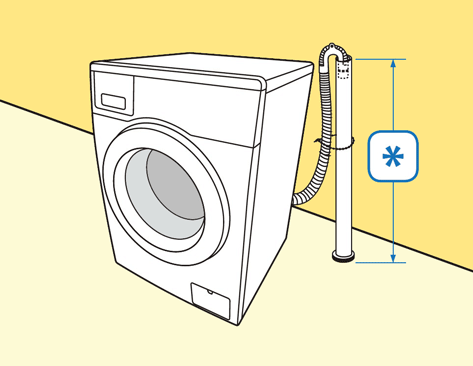
Plumbing in your new washing machine is relatively straight forward and no specialist knowledge or tools are required. It’s just a matter of removing the transit packaging as mentioned above, screwing on the fill hose(s) and connecting the drain hose to the waste water system. If you feel uncomfortable installing your washing machine, please seek professional help by calling your local plumber.

3. Register it for Warranty
Every washing machine will come with at least a 1 year manufacturer’s warranty. This is only valid once you register your appliance. The warranty information can be found with the instruction manual and paperwork and more often than not there are several ways to register e.g. by post, by telephone or online. The information needed may vary but in most cases you will need to have your washing machine’s model number, serial number and the date you purchased, along with some personal information such as your name and address.


